Project Background
On week 3 of class we learned about mechanical design and did a refresher on hand tools. Our task was to use what we learned about electronics to power a kinetic sculpture.
Creating a kinetic sculpture
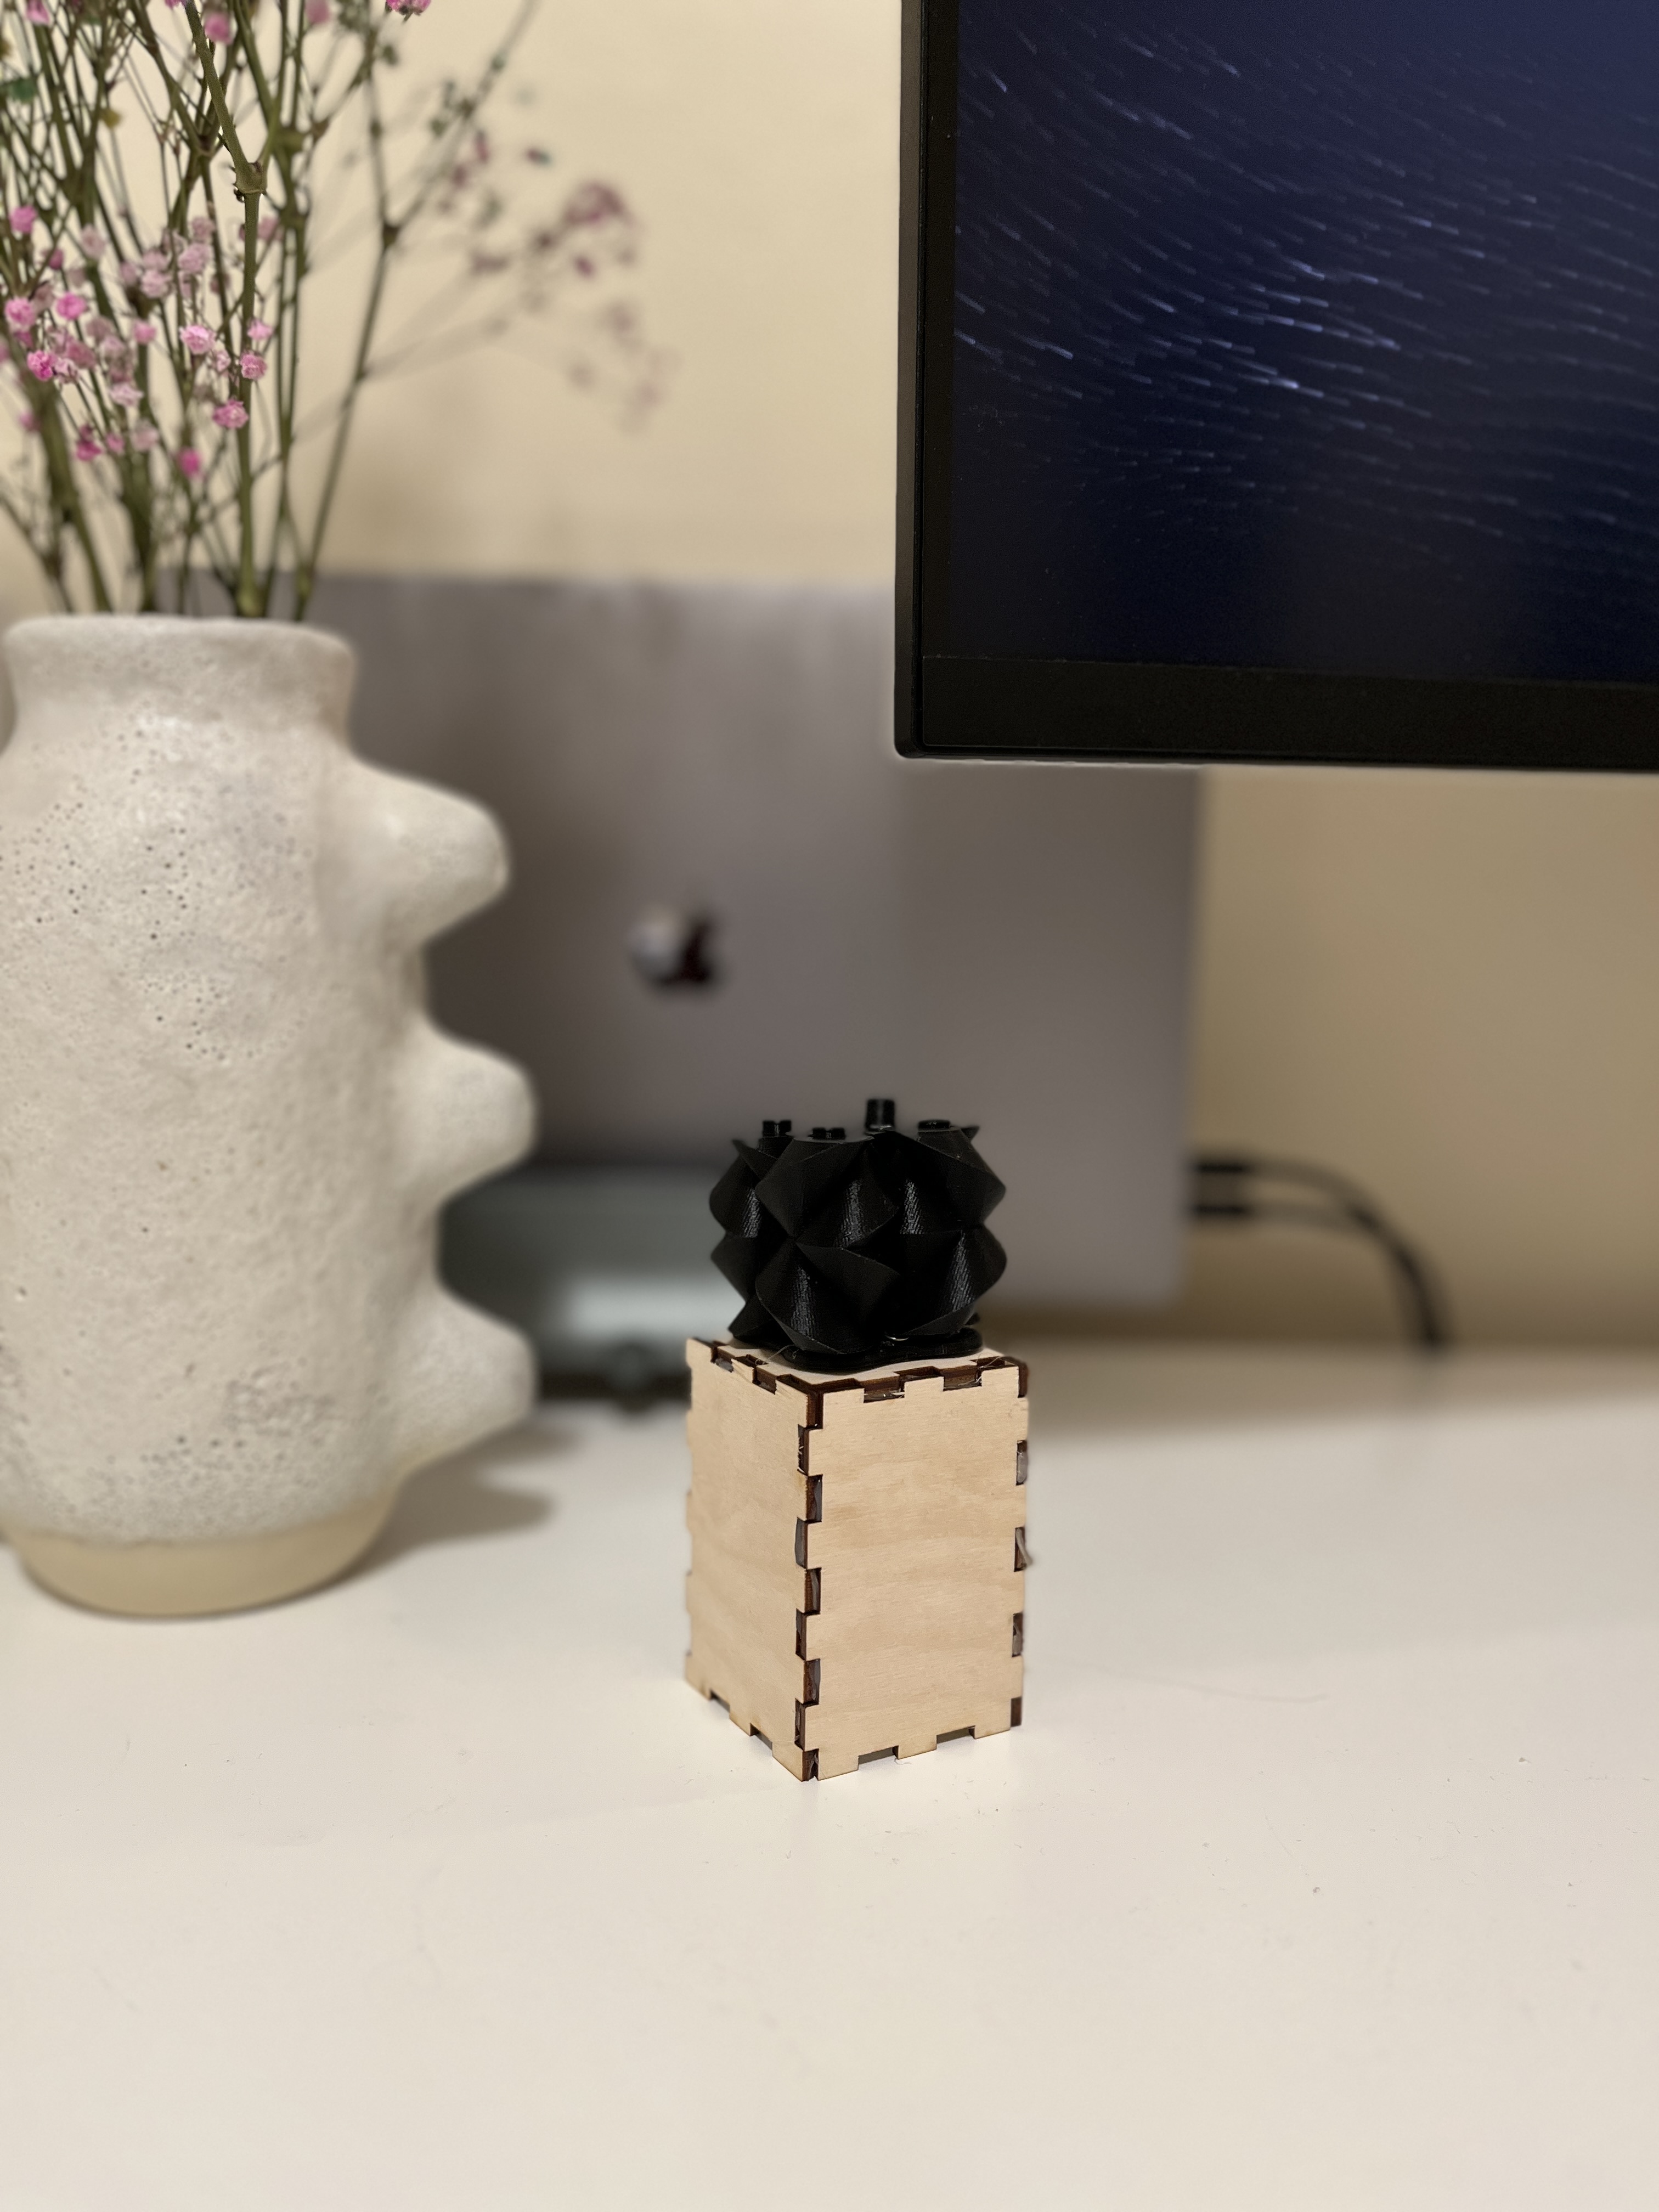
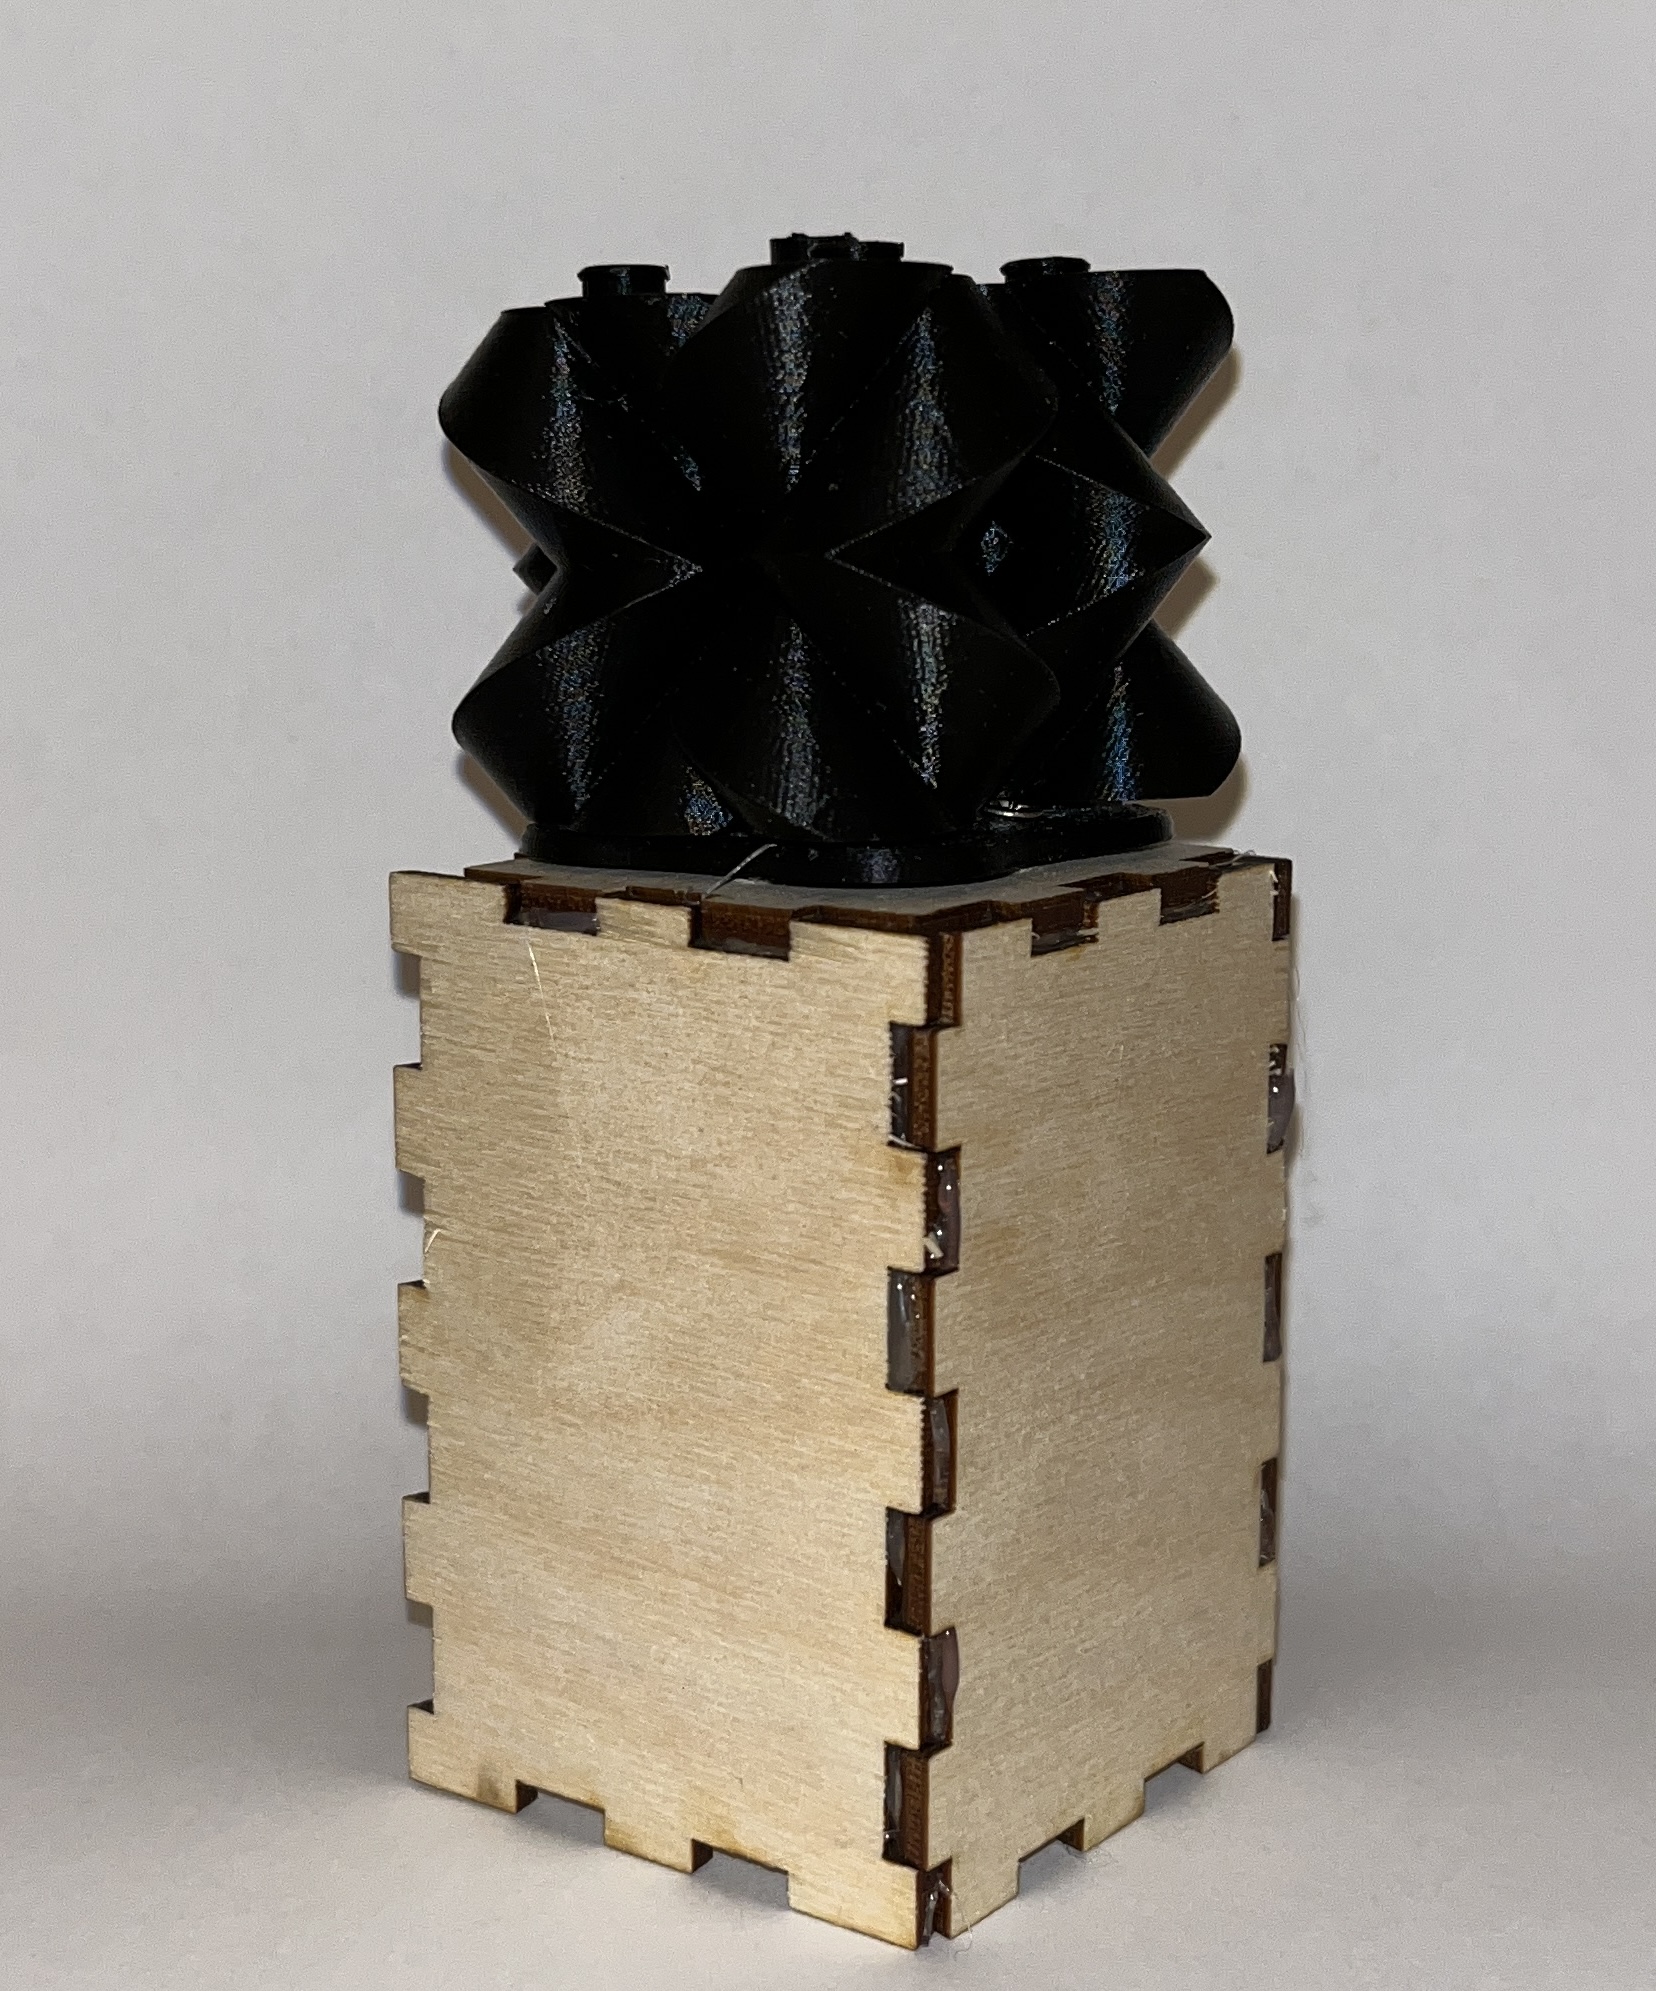
The final product
The process
I was inspired by this sculpture and wanted to create something visually satisfying that could be left in an office or on a desk.
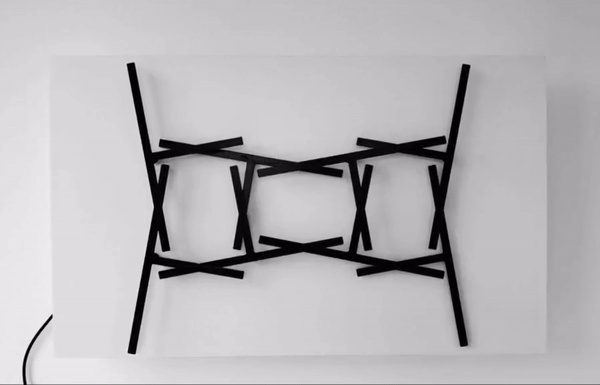
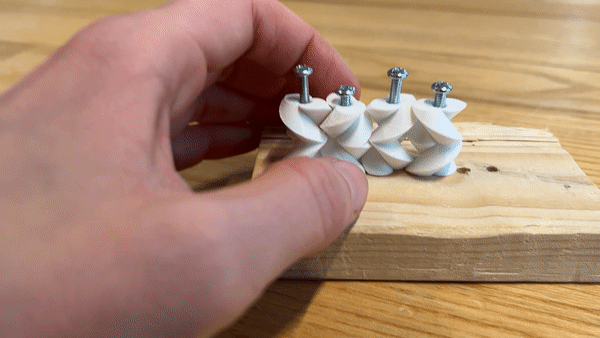
In the process of searching etsy and youtube for kinetic sculptures, I found a very aesthetically satisfying set of gears so I tried to replicate them using this tutorial. I struggled to get the gears to be taller and wanted to start with the point of the assignment, driving the motor, so I ended up using these templates to create a taller gears and the holder. Learning my lesson from last time, I 3D printed a very small model to test the idea. It's a bit messy, but it gets across the concept: one gear moves and the rest follow.
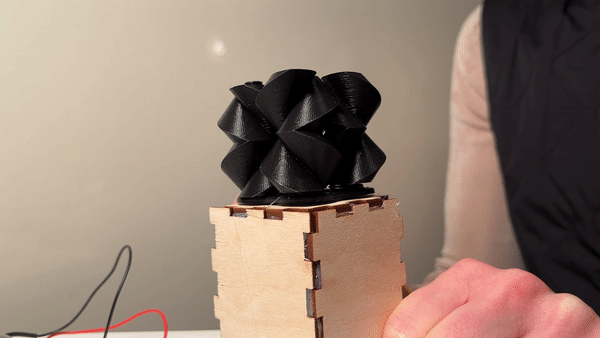
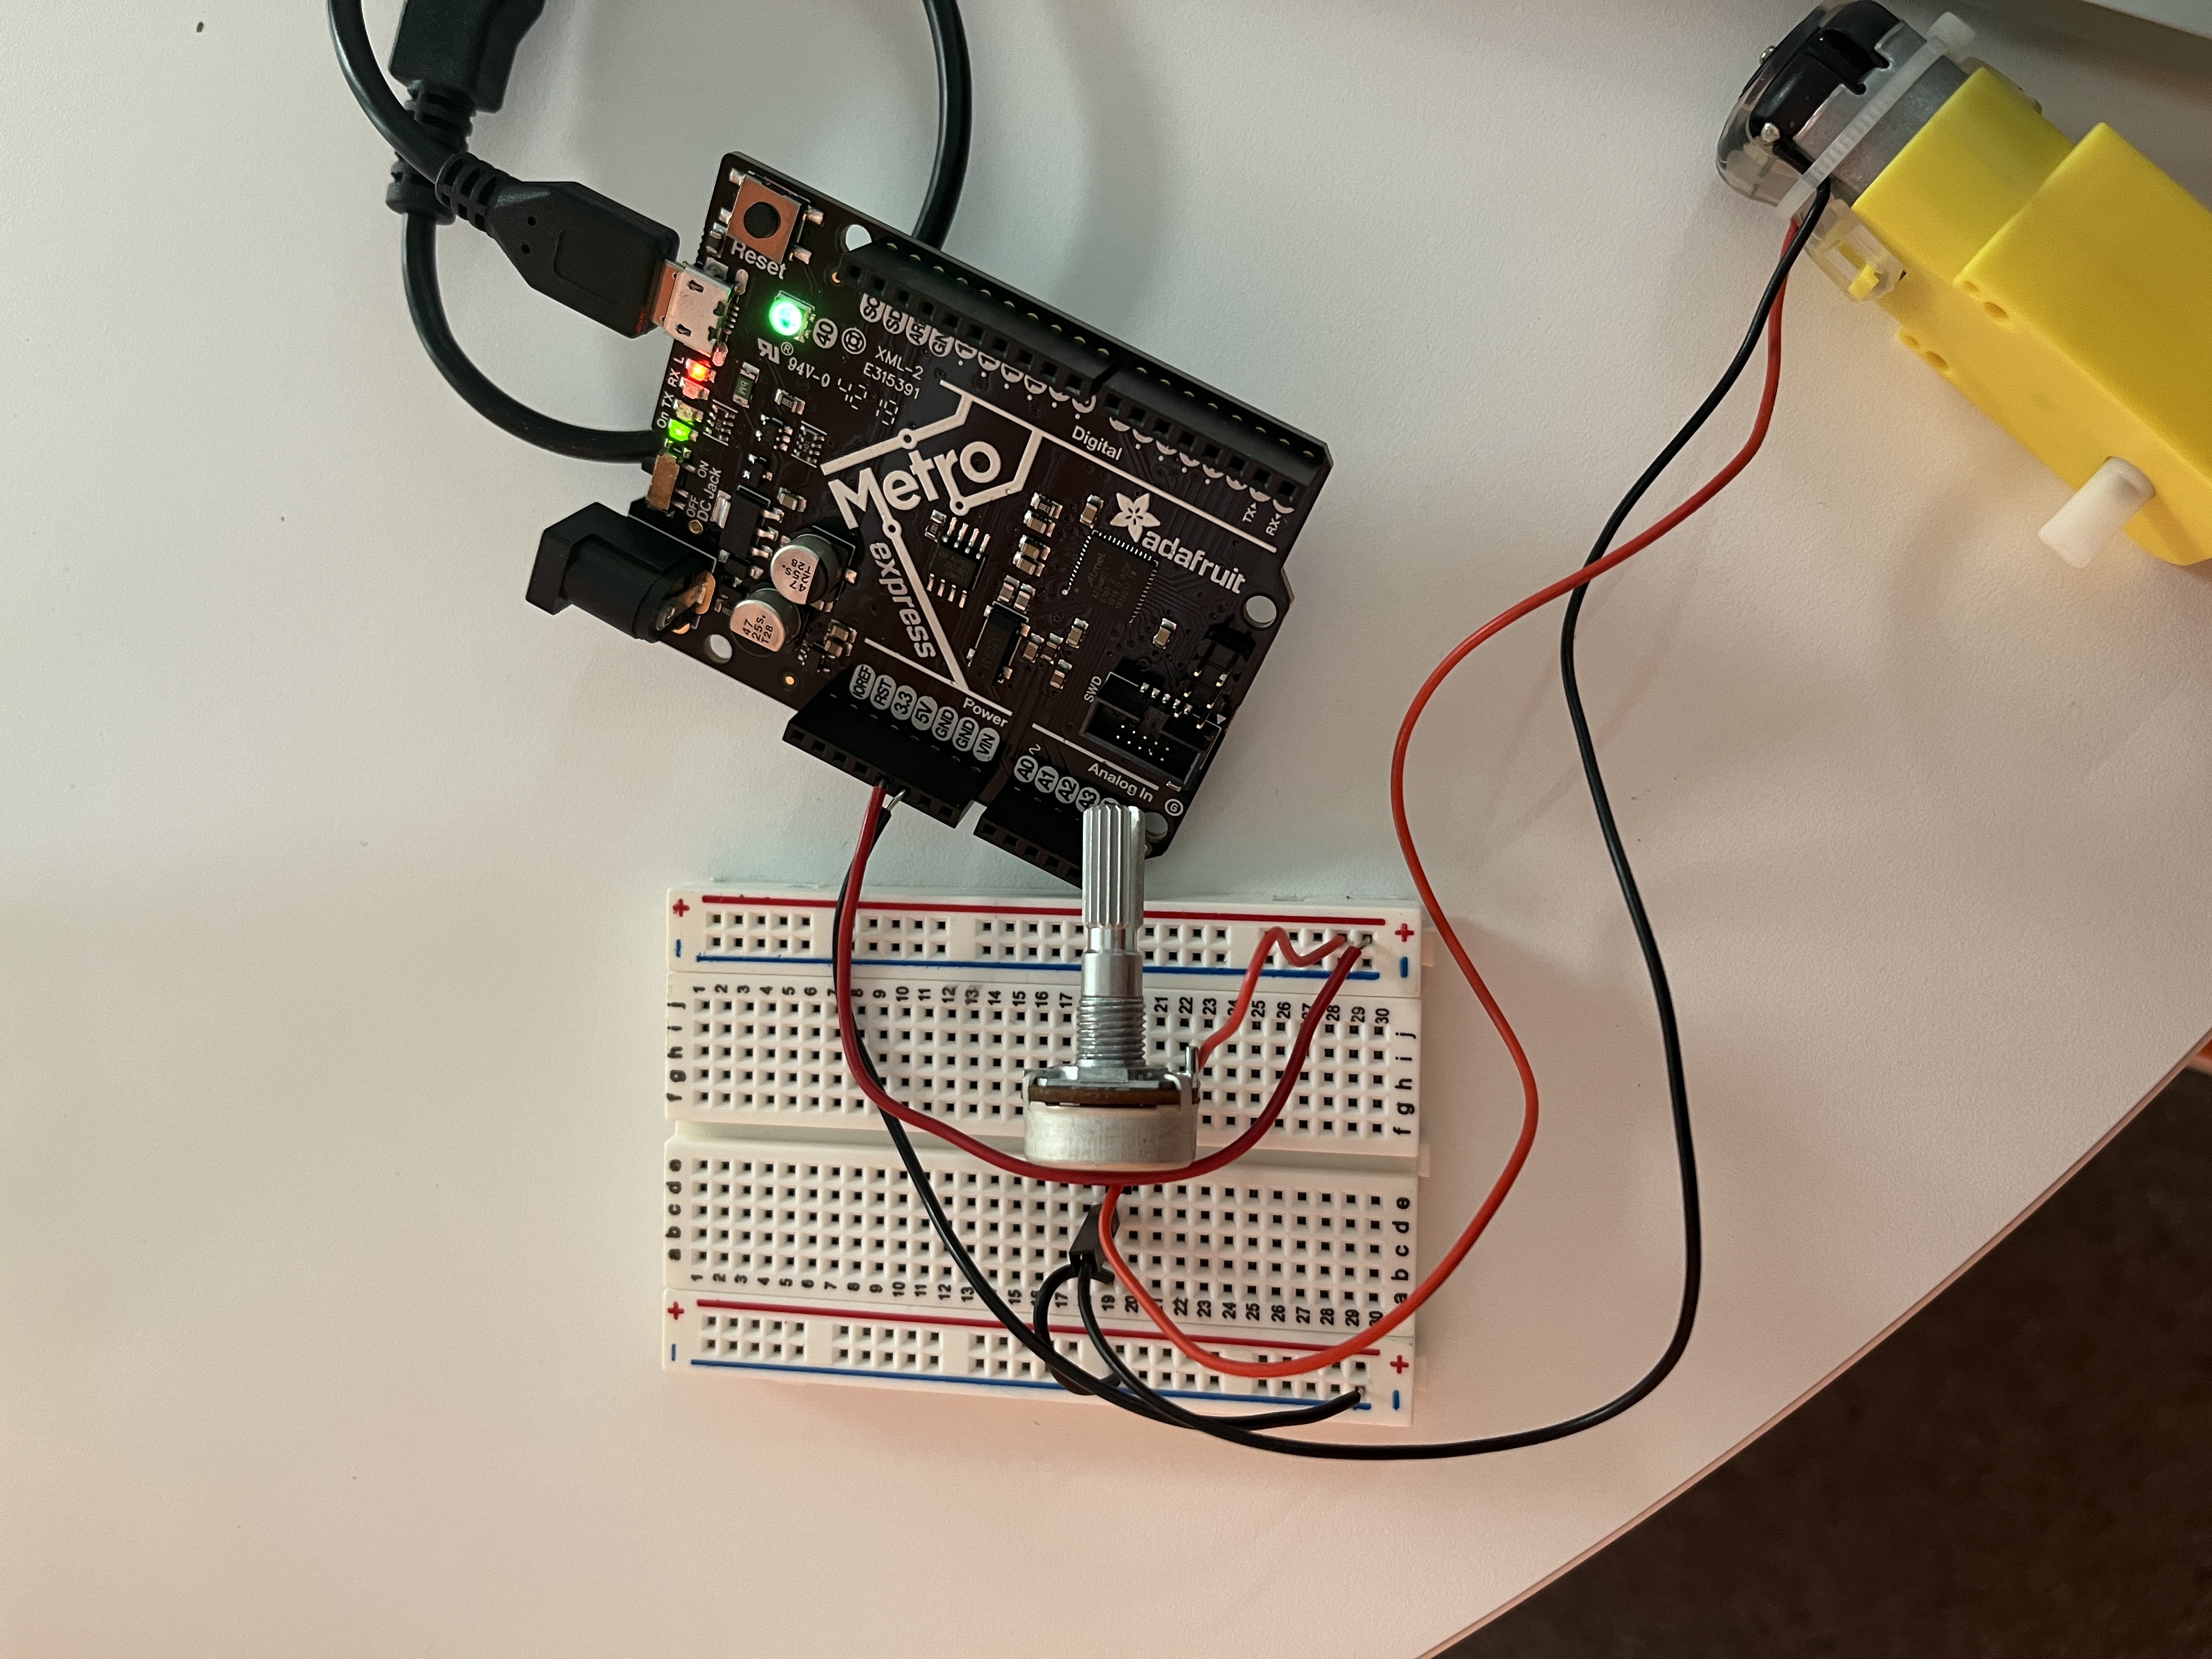
Now understanding that the gears would move together, but needed more precise alignment, I printed a holder to replace the screws. I also wanted to hide the motor, so I 3D cut a box using this handy box file creator. Once I had the box and 3D printed holder with four pegs for each gear, I tried drilling on the top of the box. The tension was too much and the pegs went flying off. I ended up hot gluing them back on, but in the future I would reprint so the structure was more even an stable and aligned. Because the top was not quite aligned, I had to stabilize the rod attached to the motor.
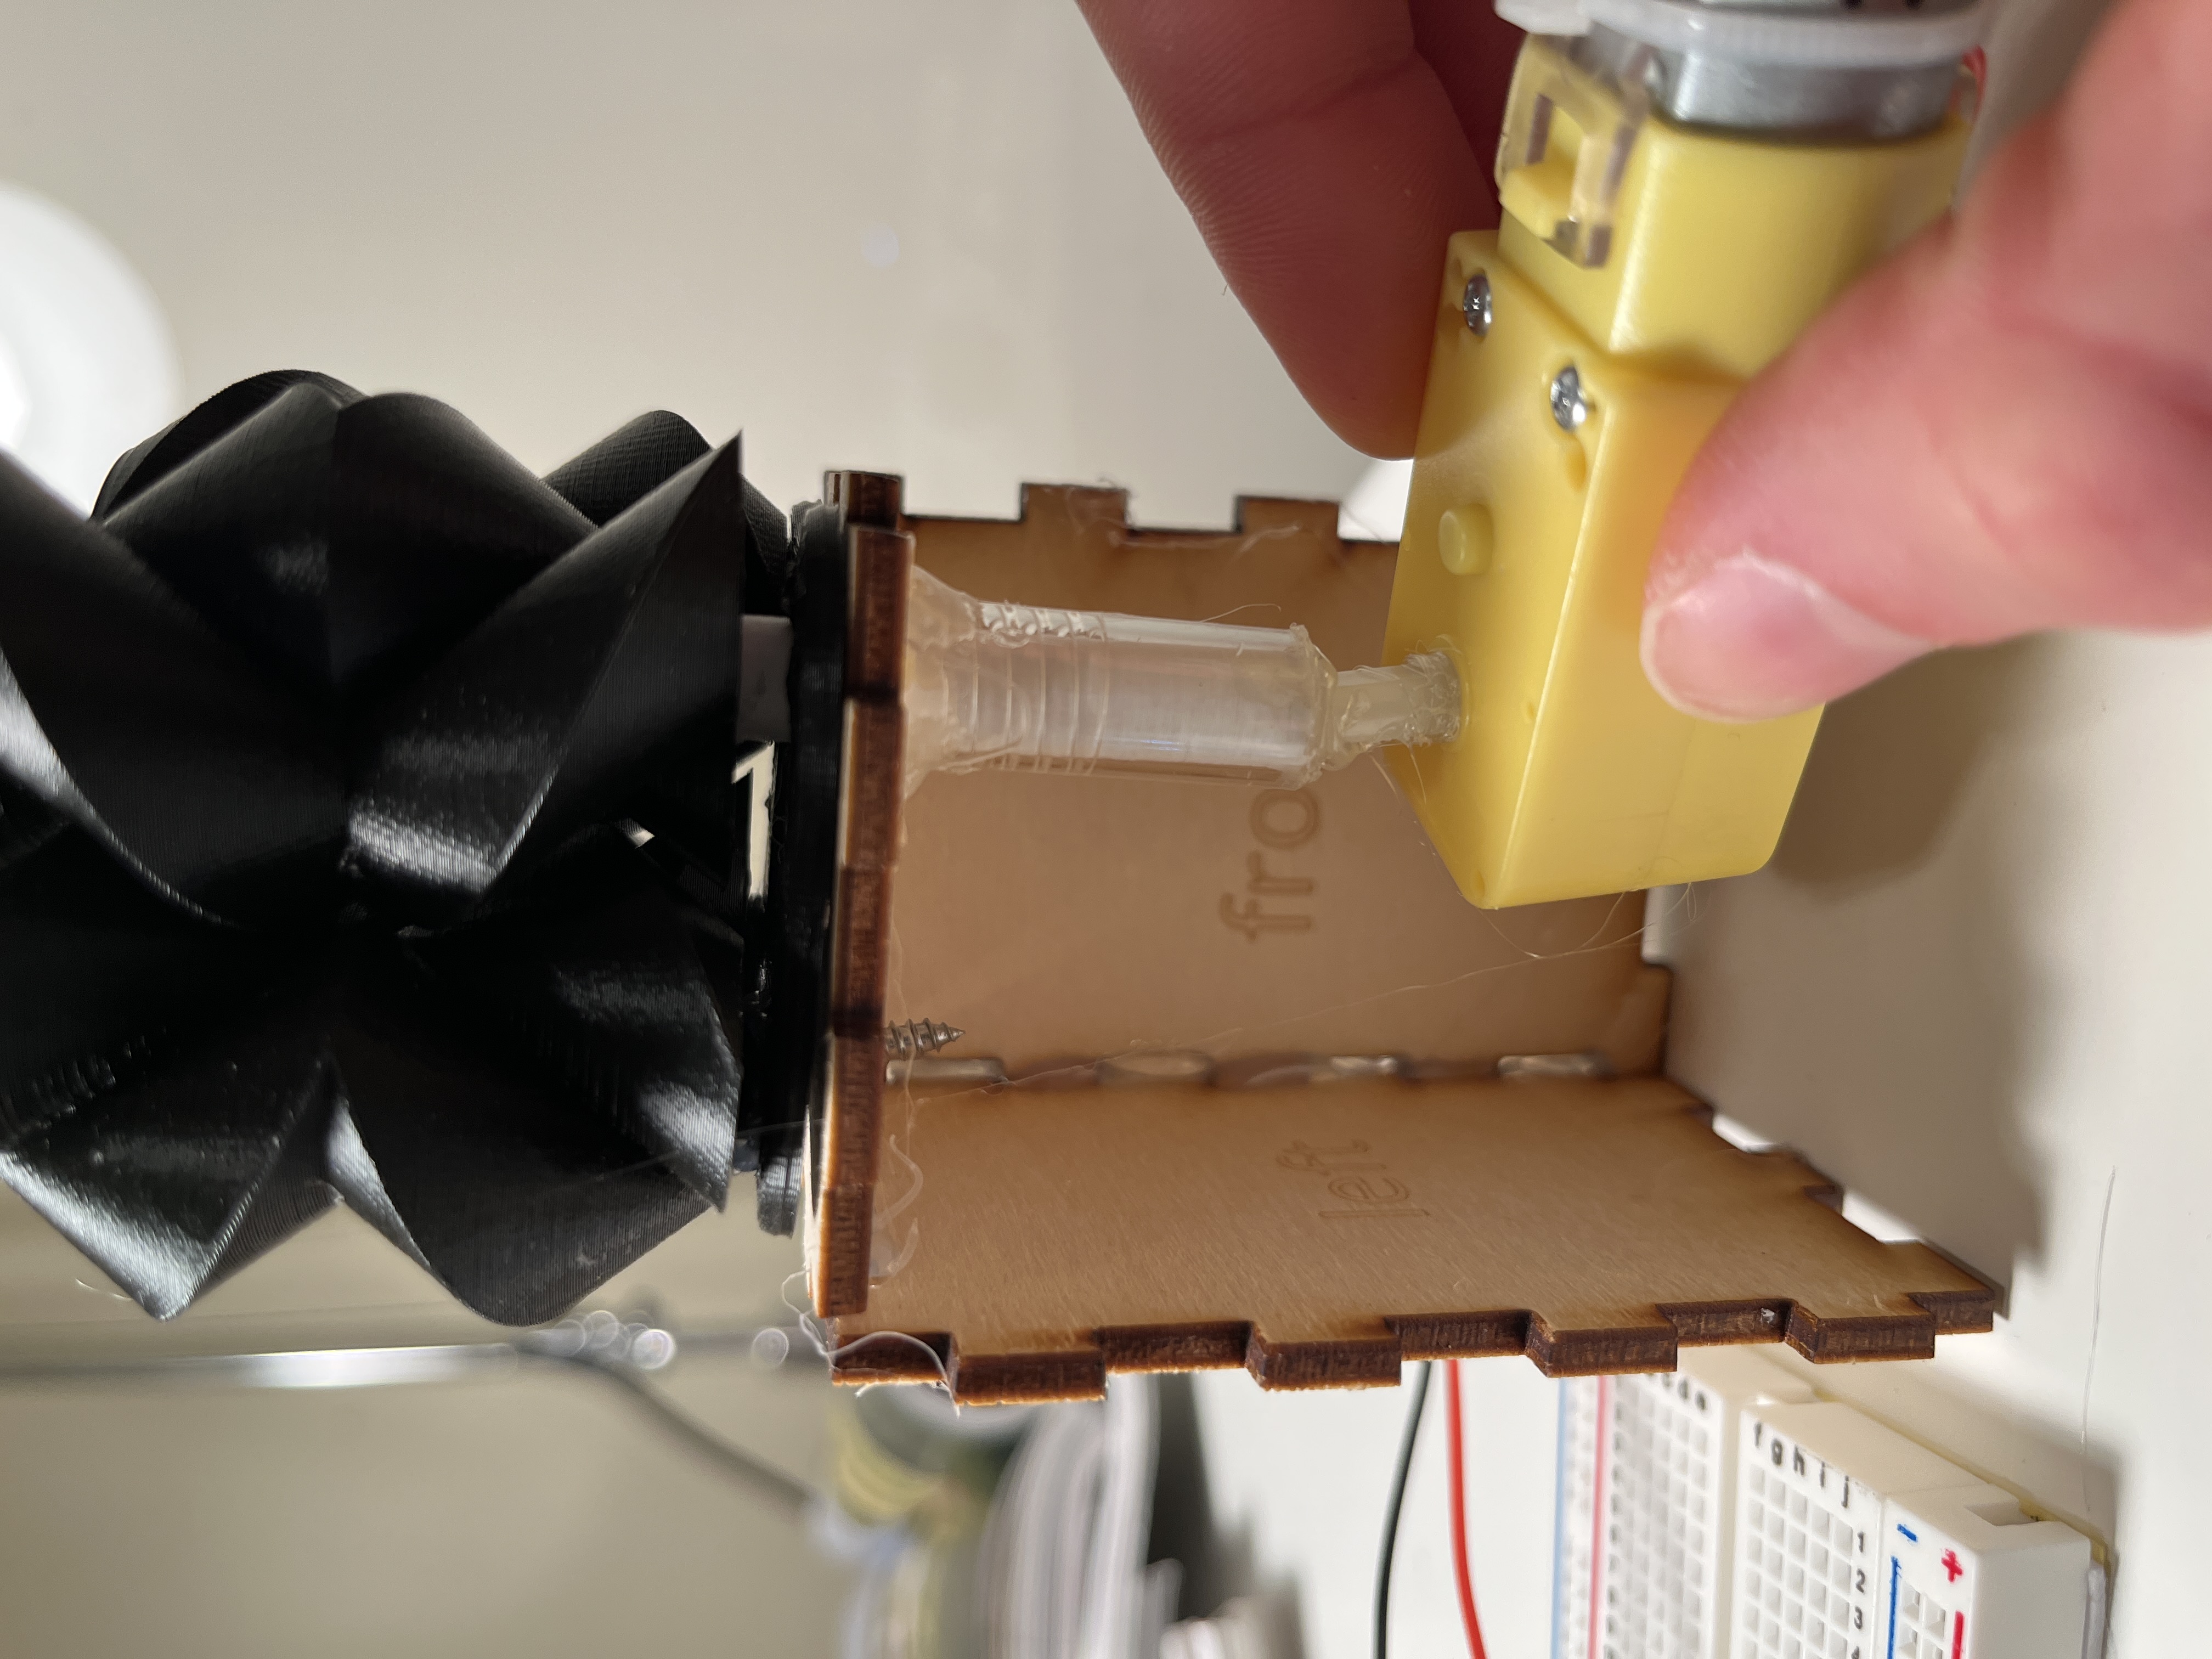
If you look really closely you can see that a pen casing is holding the rod that spins the gear in place. Again, I used hot glue in way too many places, but it proved the concept! I had to hold the sculpture in place to ensure that the motor did not spin. In the future, there would build a holder for the motor to firmly affix it to the box. I would also create a bigger box to hold these components.
In the end, the sculpture captured the initial idea. Something small and visually satisfying for an office environment.