Project Background
Week 6 was about capacitive sensors. I looked at 3D positioning to prepare for my final project and also created a water level sensor.
3D Positioning Process
Materials
- Arduino UNO
- MPU6050 Accelerometer and Gyroscope sensor
- Breadboard
- Wires
- Soldering tools
Testing the gyroscope and accelerometer
I wired the MPU6050 to the Arduino UNO.
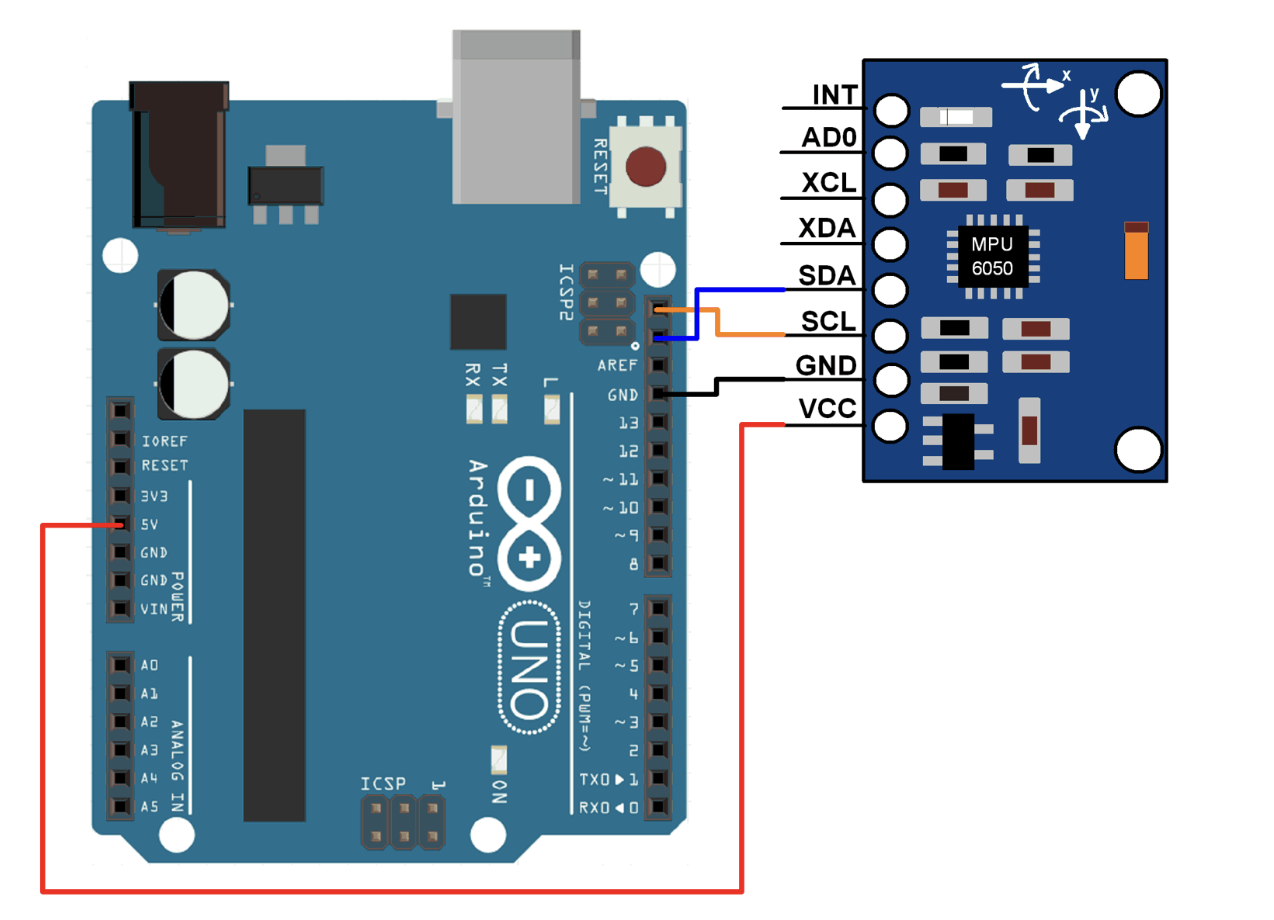
And used the code from this tutorial to read from the sensor.
.gif)
.gif)
.gif)
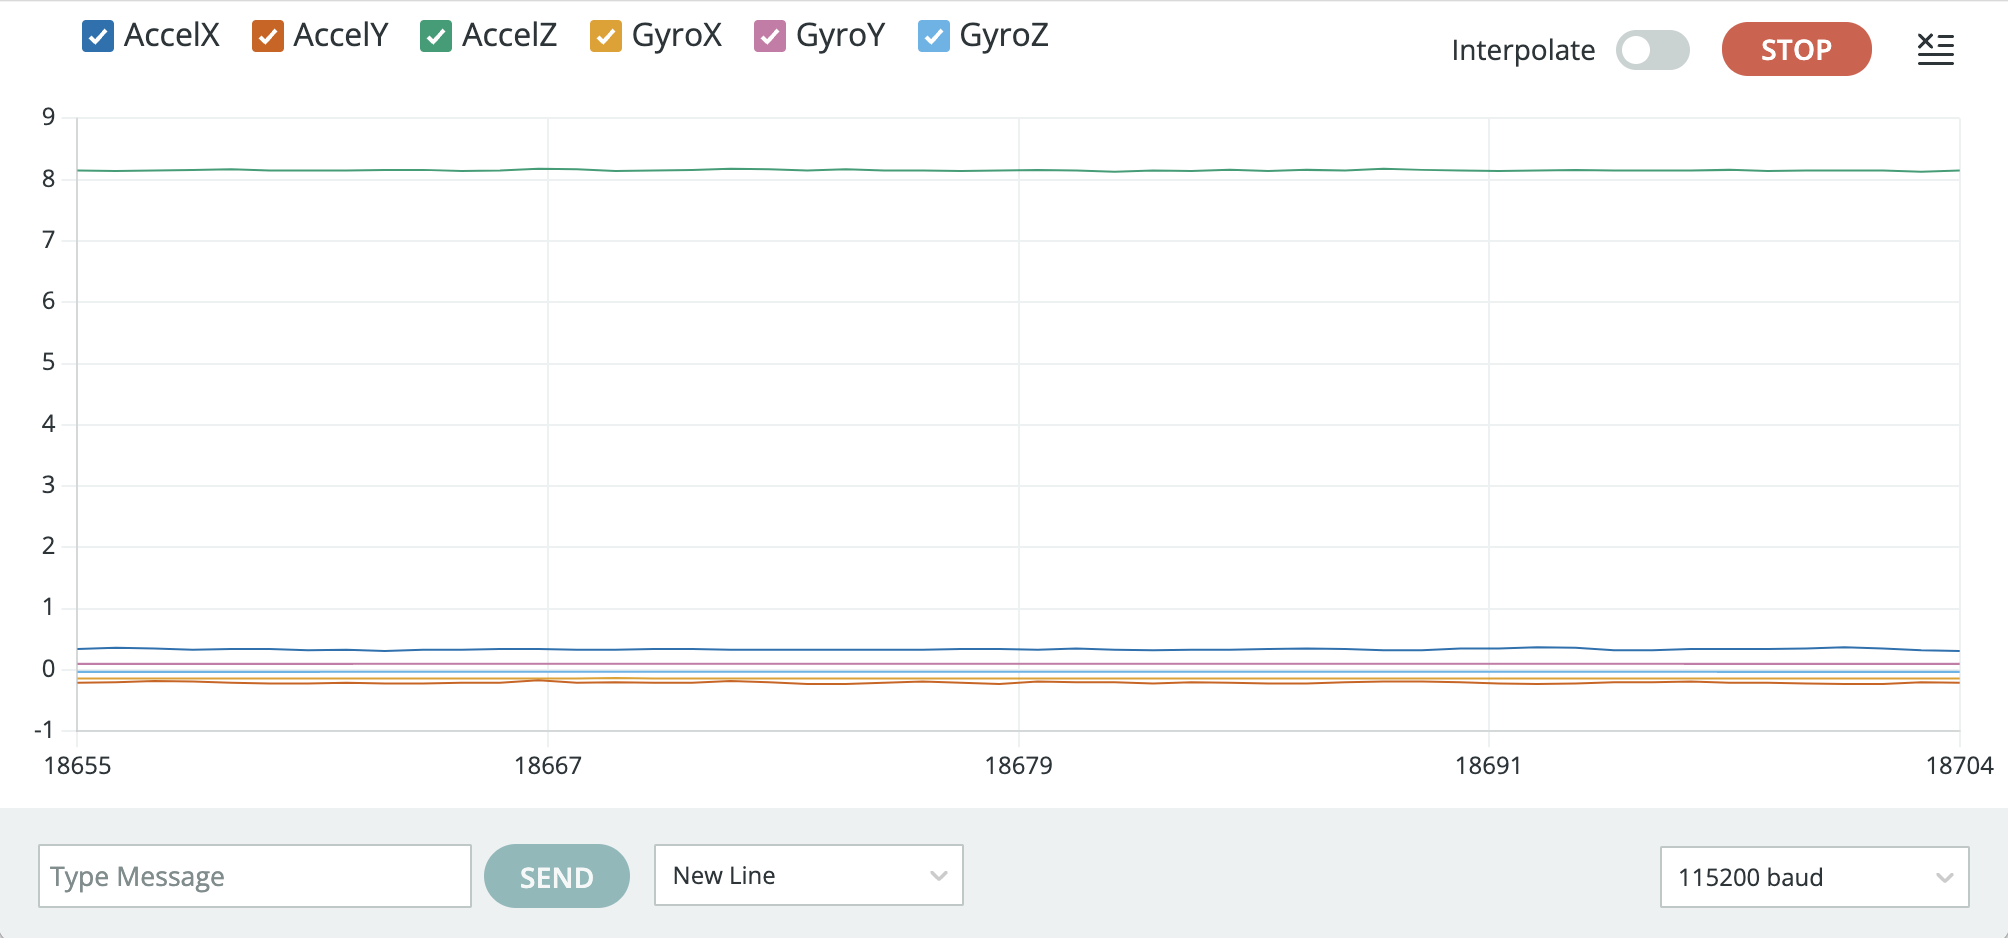
I then tested different movements. For example, when laying flat on a table the z-axis of the accelerometer should equal the acceleration of gravity (~9.8 m/s^2). As we can see below, it is fairly close, but not exact. This would need to be fixed for more precise applications such as my potential final project.
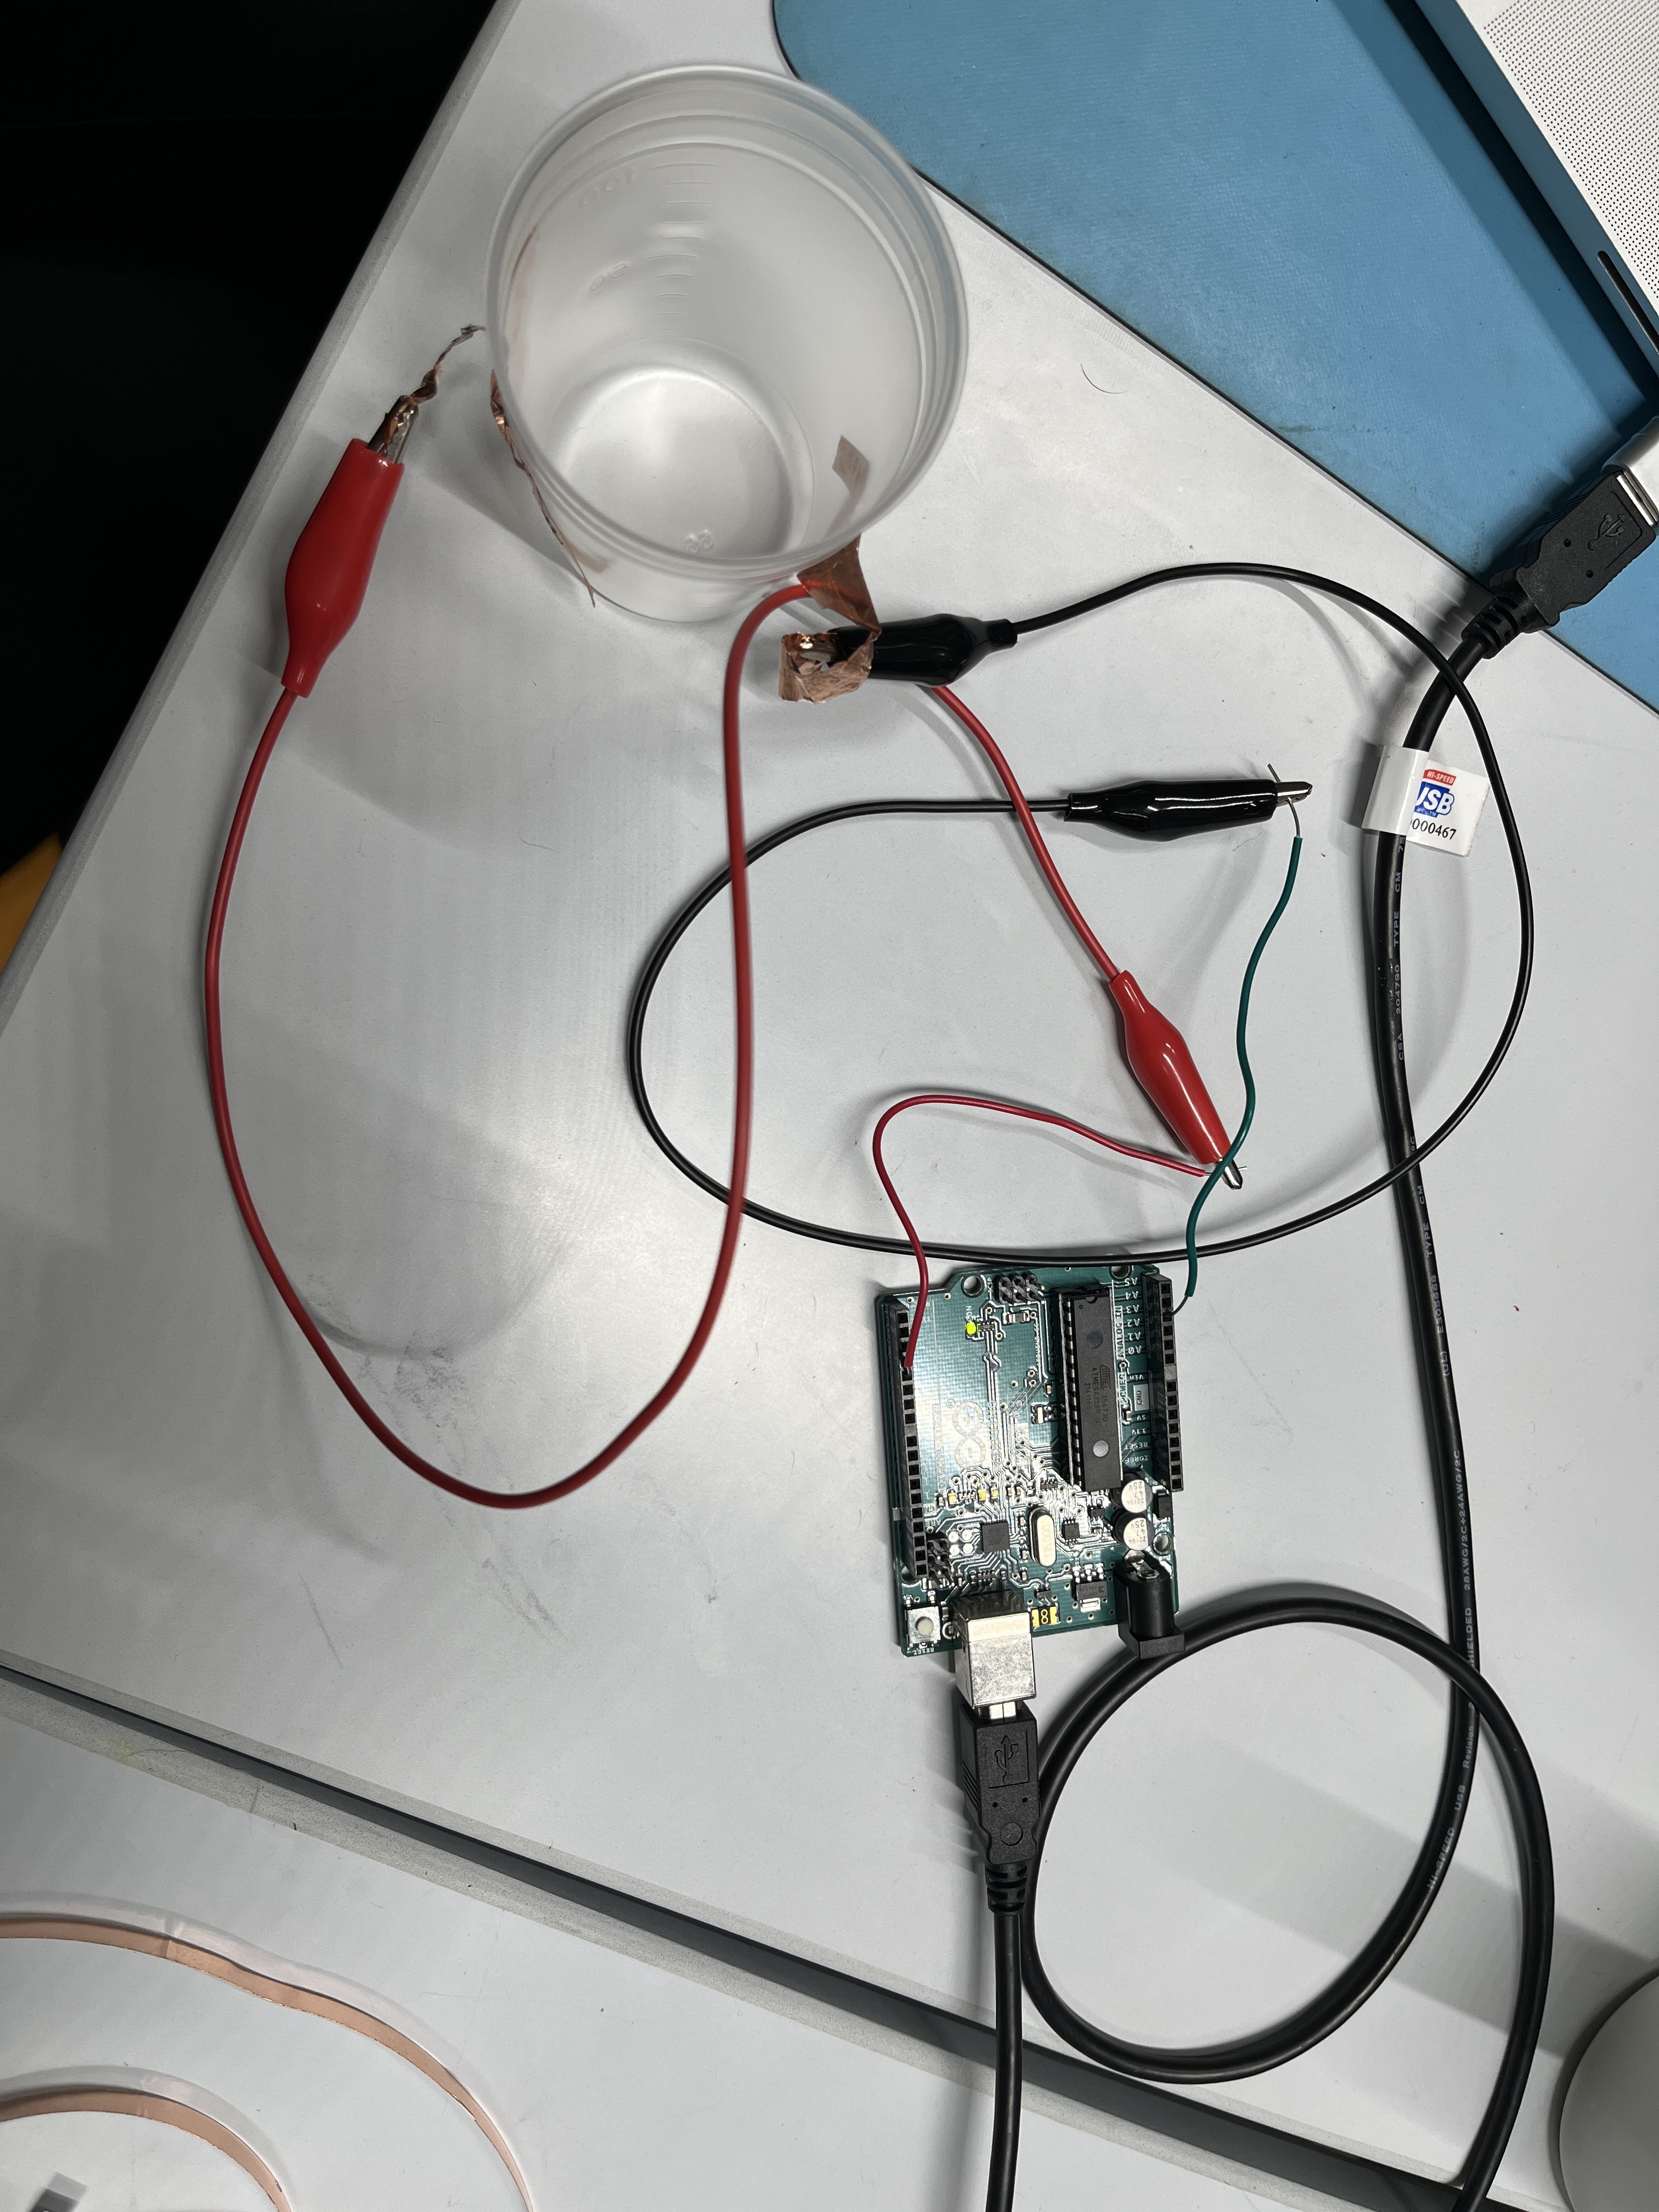
Water level sensor process
Materials
- Copper tape
- Plastic cup with measuring marks
- Breadboard
- Alligator clips
- Wires
- 2x10MOhm resistor
I tried to build the cup sensor as outlined in the class instructions page.
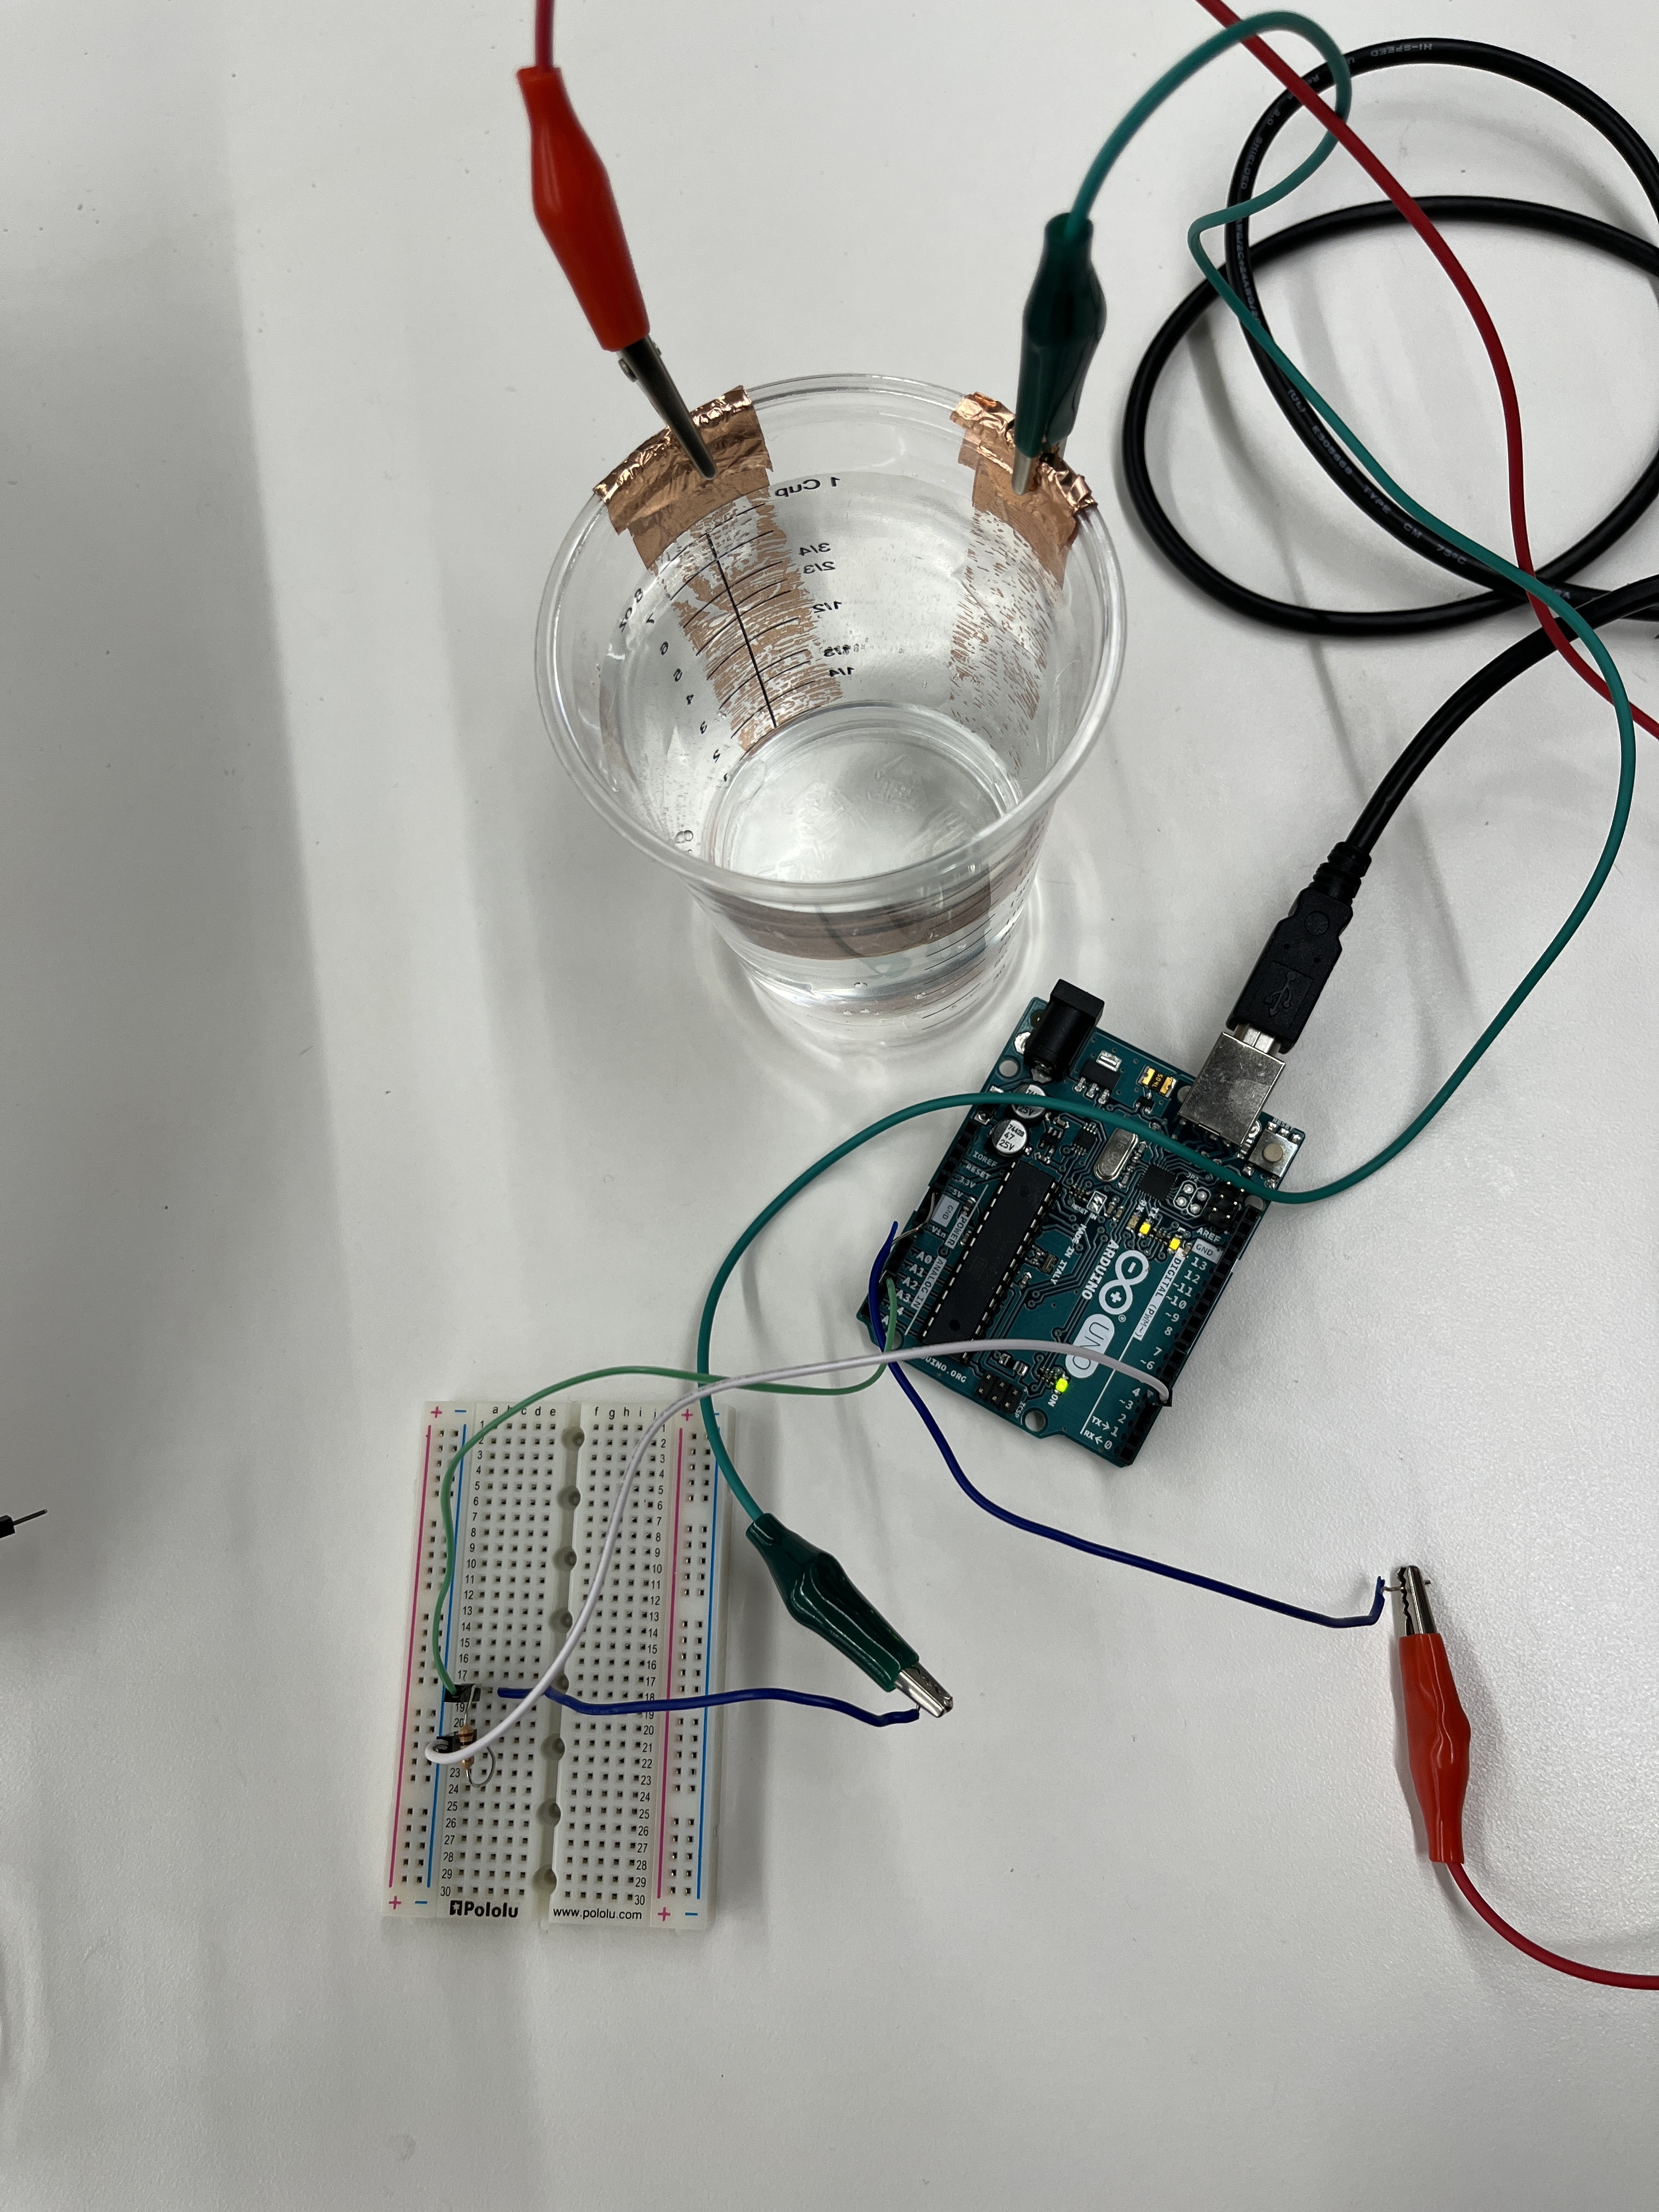
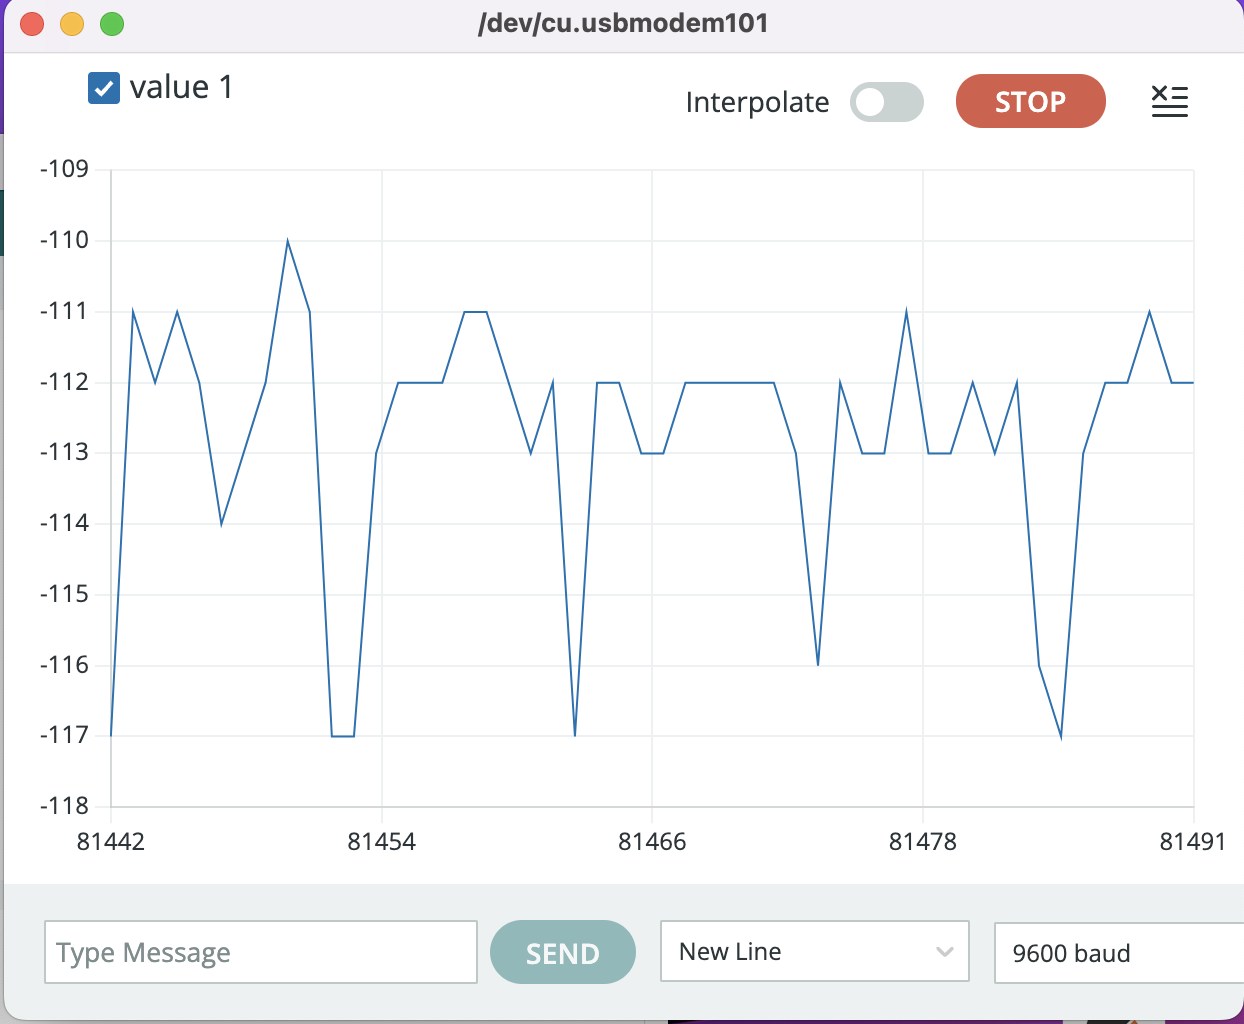
I used this code, but was getting a ton of variation on the y axis.